
0
Owner's of the Actiontec electronic Home Theater Server Wireless Digital Media Player gave it a score of 0 out of 5. Here's how the scores stacked up:
18
Action
tec Wireless Digital Media Player User Manual
4.
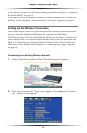
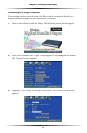
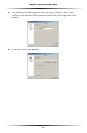
Enter the name of choice for the wireless network (using the alphanumeric
keypad on the remote) in the “SSID” text box.
5.
Highlight “Connection” and place an “x” in the box next to “Direct to a com-
puter (ad-hoc)” by pressing the Enter button on the remote.
6.
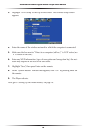
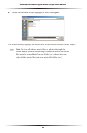
Highlight “Save,” then press the Enter button on the remote.
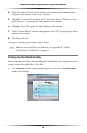
7.
In the “System Reboot” window that appears, click “OK” by pressing the Enter
button on the remote.
8.
The Player reboots.
Next, go to “Setting Up the Media Buddy,” below.
☞
Note
: To set up the Player via Ethernet, see Appendix B, “Setting
Up the Player via Ethernet,” on page 61.
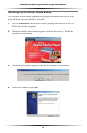
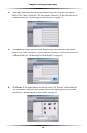
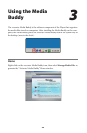
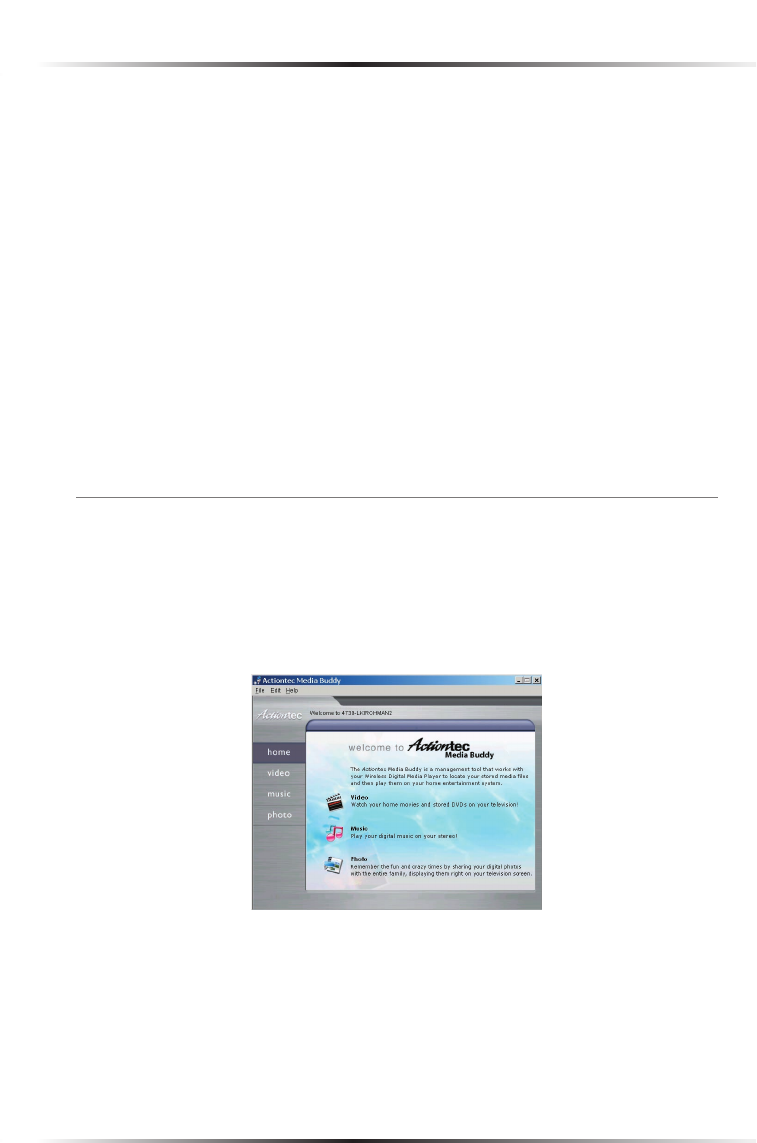
Setting Up the Media Buddy
After connecting the Player and installing the Media Buddy, the computer must be
set up to locate the media files. To do this:
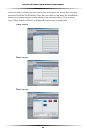
1.
The
Welcome
window should already appear. If not, click the
Media Buddy
icon
on the desktop.


Find Your Products By Category
Please Login
